Documentation
#Filament CMS Website Plugin
The Filament CMS Website Plugin is specifically built for website owners who use Filament CMS to manage their website content through the Filament Admin Panel.
Demo site : https://filament-cms-website-demo.solutionforest.net/
Demo admin site : https://filament-cms-website-demo.solutionforest.net/admin
Demo username : [email protected]
Demo password : 12345678
Auto Reset every hour.
Still, a lot of improvement, feel free to comment.

#Version Update
Change Log (move to anystack now) : https://changelog.anystack.sh/filament-cms-website-plugin
#Getting Started
#Installation via Composer
To get started with the Filament CMS Website Plugin, follow these steps:
-
To install the package you should add the package to your composer.json file in the repositories key:
{
"repositories": [
{
"type": "composer",
"url": "https://filament-cms-website-plugin.composer.sh"
}
],
}
-
Once the repository has been added to the composer.json file, they can install Filament CMS Website Plugin like any other composer package using the composer require command:
composer require solution-forest/filament-cms-website-plugin
-
You will be prompted to provide their username and password. The username will be your email address and the password will be equal to their license key. For example, let's say we have the following licensee and license activation:
This will require your licensee to enter the following information when prompted for their credentials:
Loading composer repositories with package information
Authentication required (filament-cms-website-plugin.composer.sh):
Username: philo@anystack.sh
Password: 8c21df8f-6273-4932-b4ba-8bcc723ef500:anystack.sh
To clarify, the license key and fingerprint should be separated by a colon (:).
-
To publish the configuration files, migrations, and layout files for this plugin, as well as automatically create page data, enter the following command:
php artisan filament-cms:install
The default layout files are stored under:
views
- cms
-- theme
--- default
---- app.blade.php
---- header.blade.php
---- footer.blade.php
-
By default, the index page of the website has a slug of home. If you wish to customize this slug, you can update the models.cms_page parameter in the config/filament-cms.php file and modify your CmsPage model accordingly. Specifically, you will need to change the value of the HOME_SLUG constant property to your desired slug. Once you have made these changes, run the php artisan optimize:clear command to clear the cache.

return [
...
'models' => [
'cms_page' => \App\Models\CmsPage::class,
]
...
];
#Updating the Filament CMS Website Plugin
To update the Filament CMS website plugin, you can use the command php artisan filament-cms:update. This command will check for any updates to the package and install them if necessary.
If the update includes any new migration files, they will be automatically published to your application's database/migrations directory. You will then be prompted to confirm whether you want to run the migrations or not. If you confirm, the migrations will be run automatically, applying any necessary changes to your database schema.
It's important to note that before running any updates, you should always backup your code and database to ensure that you can easily revert to a previous state if any issues arise. Additionally, you should review the release notes for the updated package to understand any potential breaking changes or new features that may impact your application.
#Table of Contents
#General Page
Here are some examples of how to create a general page:
#Create basic draft page

#Publish draft page

#Un-publish published page

#Schedule publish page

#Navigation
#Example
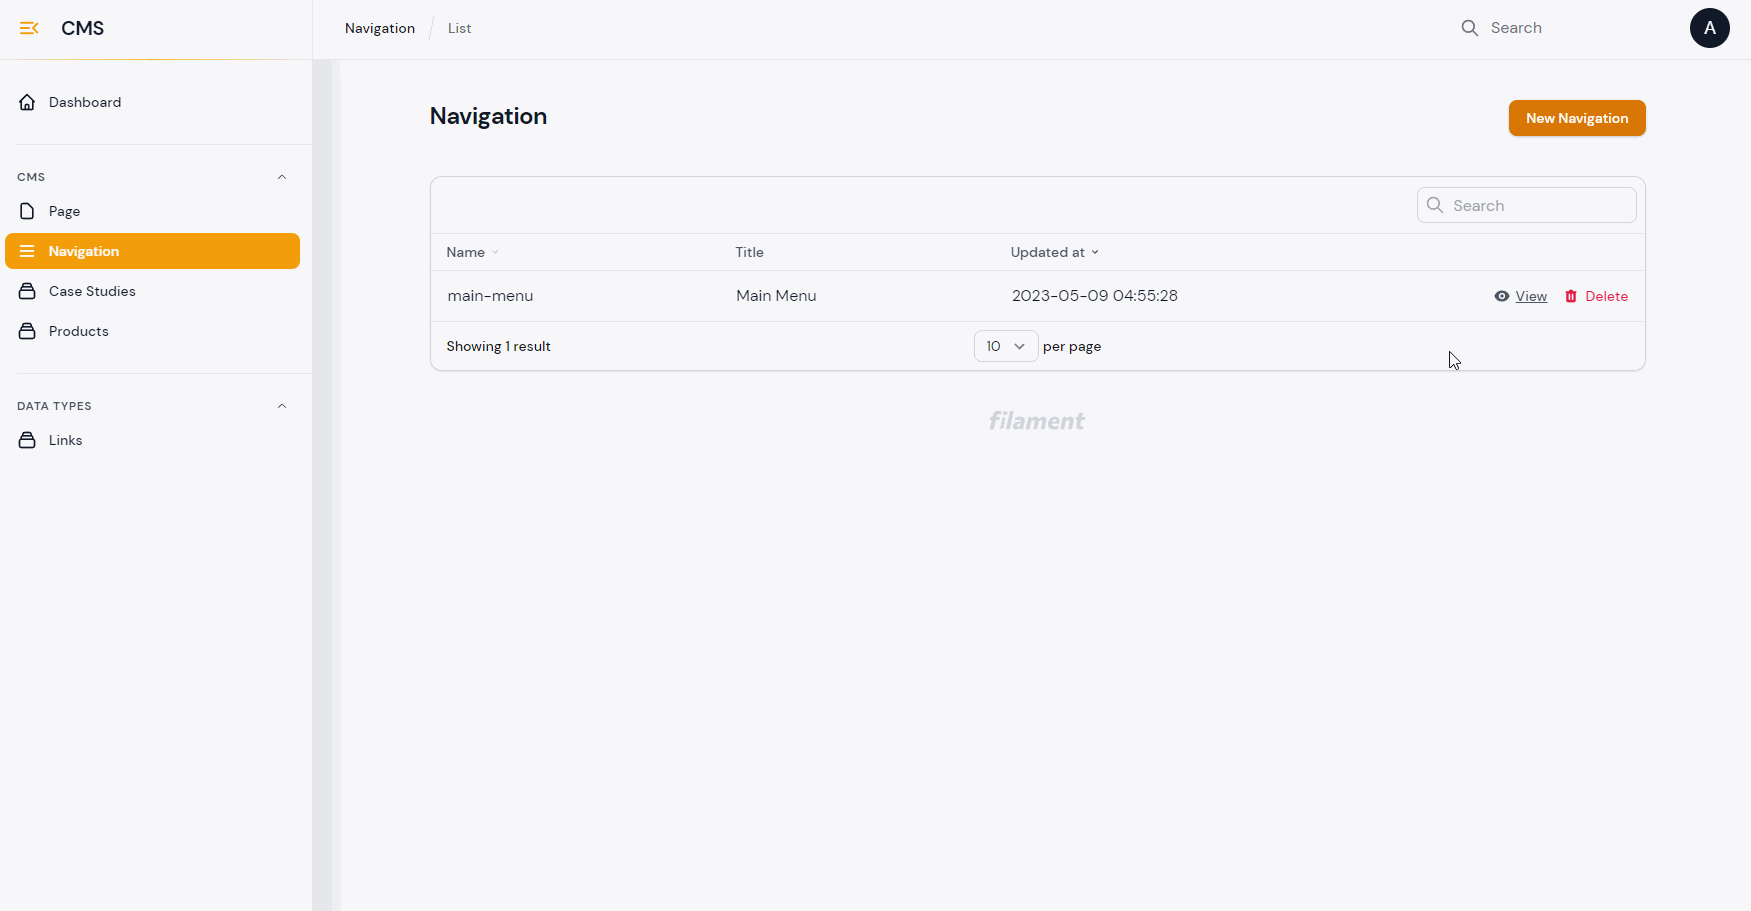
#Get the navigation
You can get navigation using:
\SolutionForest\FilamentCms\Facades\FilamentCms::getNavigations()
or
\SolutionForest\FilamentCms\Facades\FilamentCms::getNavigations('main-menu')
#Templates
The form schema for the page data is based on the work of Dennis Koch. To learn more about this concept, you can refer to his Filament Trick, which provides detailed information on the general idea.
#Create Template
To create a template and its view file, run following command:
php artisan filament-cms:page-template MyTemplate
<?php
namespace App\CmsPages\Templates;
use Filament\Forms;
use SolutionForest\FilamentCms\CmsPages\Contracts\CmsPageTemplate;
use SolutionForest\FilamentCms\CmsPages\Renderer\AtomicDesignPageRenderer;
final class MyTemplate implements CmsPageTemplate
{
protected static ?string $view = null;
public static function title(): string
{
return 'MyTemplate';
}
public static function schema(): array
{
return [
Forms\Components\Card::make()
->schema([
Forms\Components\TextInput::make('content')
->label(__('filament-cms::filament-cms.fields.cms_page.block-template.content'))
]),
];
}
public static function getRenderer(): ?string
{
return static::$view ?? AtomicDesignPageRenderer::class;
}
public static function hiddenOnTemplateOptions(): bool
{
return false;
}
}
#Create Template Renderer
You have the option to modify the renderer as a view or implement a custom SolutionForest\FilamentCms\CmsPages\Contracts\Renderer.
To create a Template renderer, you can run the following command:
php artisan filament-cms:page-template-renderer
Once you have created the template renderer, you can insert it into your Template class.
#Customize front-end middleware
To customize the front-end middleware for your application, you can add the middleware classes in the config/filament-cms file.
return [
...
'middleware' => [
'web' => [
// add here
],
],
...
];
#SEO
The SEO functionality in this package is based on ralphjsmit/laravel-seo. To set up SEO for your website, you can configure the settings in the config/seo.php file.
#Change Theme
To change the theme, you can modify the theme parameter in the config/filament-cms.php file. After that, you will need to clone all of the layout files located in views/cms/theme/default and rename the default folder to your new theme name. Additionally, you will need to publish and clone the default template render files under your new theme name as well.
-
Modify the config file:
return [
...
// Default theme
'theme' => 'default',
...
];
-
Clone layout files located in views/cms/theme/default. Then, rename the default folder to new theme name:
Files location:
views
- cms
-- theme
--- default
--- [new theme name]
-
To modify the default template render files, you can publish vendor files and clone files located in resources/views/vendor/filament-cms/components/default. Then, rename the default folder to new theme name:
Command:
php artisan vendor:publish --tag=filament-cms-views
Files location:
views
- vendor
-- filament-cms
--- components
---- default
---- [new theme name]
#Data-type Page
 The data-type page is a resource that doesn't have an associated route.
For instance, if you create a 'link' data-type that includes information such as URLs and titles, you can retrieve this information from any page.
To create a new data-type, you can use the following command, which will automatically generate the necessary page data, template and Filament resource:
php artisan filament-cms:data-type-page Link
Filament Resource:
<?php
namespace App\Filament\Resources\DataType;
use App\Filament\Resources\DataType\LinkResource\Pages;
use App\CmsPages\Templates\DataType\Link as Template;
use Filament\Forms;
use Illuminate\Database\Eloquent\Builder;
use SolutionForest\FilamentCms\Enums\PageType;
use SolutionForest\FilamentCms\Filament\Resources\DataTypePageBaseResource as BaseResource;
class LinkResource extends BaseResource
{
protected static ?int $navigationSort = null;
protected static $parentPageKey = '5';
protected static string $subSlug = 'link';
public static function getModelLabel(): string
{
return 'Link';
}
public static function getPages(): array
{
return [
'index' => Pages\ListLinks::route('/'),
'edit' => Pages\EditLink::route('/{record:id}/edit'),
'create' => Pages\CreateLink::route('/create'),
];
}
public static function getTemplate(): string
{
return Template::class;
}
}
Template:
<?php
namespace App\CmsPages\Templates\DataType;
use Filament\Forms;
use SolutionForest\FilamentCms\CmsPages\Contracts\CmsPageTemplate;
use SolutionForest\FilamentCms\CmsPages\Templates\DataTypeTemplate as BaseTemplate;
class Link extends BaseTemplate implements CmsPageTemplate
{
public static function schema(): array
{
return [];
}
public static function title(): string
{
return 'Link';
}
}
To retrieve records under the data-type page, you can use the following code:
\SolutionForest\FilamentCms\Support\Utils::getDataType('link')->get();
Alternatively, you can refer to the vendor/filament-cms/demo/templates/intro.blade.php file for an example.
#Content-type Page
The content-type page is a resource that is associated with routing, similar to a general page that has child pages.
For instance, you can create a 'Product' content-type page with a slug ('products'), which can edit the detail view for the child pages under 'Product'. Additionally, you can retrieve all records under the 'Product' page from any page.
To create a new content-type page, you can use the following command, which will automatically generate the necessary page data, template, views, and Filament resource:
php artisan filament-cms:content-type-page Product products
Filament Resource:
<?php
namespace App\Filament\Resources\ContentType;
use App\Filament\Resources\ContentType\ProductResource\Pages;
use App\CmsPages\Templates\ContentType\Product as Template;
use Filament\Forms;
use Illuminate\Database\Eloquent\Builder;
use SolutionForest\FilamentCms\Enums\PageType;
use SolutionForest\FilamentCms\Filament\Resources\ContentTypePageBaseResource as BaseResource;
class ProductResource extends BaseResource
{
protected static ?int $navigationSort = null;
protected static $parentPageKey = '13';
protected static string $subSlug = 'products';
public static function getModelLabel(): string
{
return 'Product';
}
public static function getPages(): array
{
return [
'index' => Pages\ListProducts::route('/'),
'edit' => Pages\EditProduct::route('/{record:id}/edit'),
'create' => Pages\CreateProduct::route('/create'),
];
}
public static function getTemplate(): string
{
return Template::class;
}
}
Template:
<?php
namespace App\CmsPages\Templates\ContentType;
use Filament\Forms;
use SolutionForest\FilamentCms\CmsPages\Contracts\CmsPageTemplate;
use SolutionForest\FilamentCms\CmsPages\Templates\ContentTypeTemplate as BaseTemplate;
class Product extends BaseTemplate implements CmsPageTemplate
{
public static function schema(): array
{
return [];
}
public static function title(): string
{
return 'Product';
}
}
View:
@props(['layout', 'page' => null])
@php
use SolutionForest\FilamentCms\Facades\FilamentCms;
/** @var array $layout */
/** @var ?\SolutionForest\FilamentCms\Dto\CmsPageData $page */
$theme = FilamentCms::getCurrentTheme();
@endphp
<x-dynamic-component
component="filament-cms::{{$theme}}.page"
:layout="$layout">
<!-- Let all your things have their places; let each part of your business have its time. - Benjamin Franklin -->
</x-dynamic-component>
To retrieve records under the content-type page, you can use the following code:
\SolutionForest\FilamentCms\Support\Utils::getContentType('products')->get();
#Translation
This guide assumes that you have already set up your model to be translatable, as per Spatie's documentation.
-
To set the default_locales for all resources at once, you can publish the package's configuration file.
-
Next, you need to prepare your resource classes and model, and update the settings in the config/filament-cms.php file. Here's an example configuration:
return [
...
'filament' => [
'resources' => [
'cms_page' => \App\Filament\Resources\CmsPageResource::class,
'cms_page_navigation_category' => \App\Filament\Resources\CmsPageNavigationCategoryResource::class,
],
'navigation' => [
'icon' => [
\App\Filament\Resources\CmsPageResource::class => 'heroicon-o-document',
\App\Filament\Resources\CmsPageNavigationCategoryResource::class => 'heroicon-o-menu',
],
'sort' => [
\App\Filament\Resources\CmsPageResource::class => -3,
\App\Filament\Resources\CmsPageNavigationCategoryResource::class => -2,
],
],
...
'models' => [
'cms_page' => \App\Models\CmsPage::class,
'cms_published_page' => \App\Models\CmsPublishedPage::class,
'cms_page_navigation' => \App\Models\CmsPageNavigation::class,
'cms_page_navigation_category' => \App\Models\CmsPageNavigationCategory::class,
]
...
];
-
Then, you need to add the necessary trait to your model:
namespace App\Models;
use Illuminate\Database\Eloquent\Factories\HasFactory;
use SolutionForest\FilamentCms\Models\CmsPage as BaseModel;
use Spatie\Translatable\HasTranslations;
class CmsPage extends BaseModel
{
use HasTranslations;
public $translatable = [
'title',
'data',
];
}
-
You also need to add the necessary trait to your Filament resource:
namespace App\Filament\Resources;
use App\Filament\Resources\CmsPageResource\Pages;
class CmsPageResource extends \SolutionForest\FilamentCms\Filament\Resources\CmsPageResource
{
use \Filament\Resources\Concerns\Translatable;
public static function getPages(): array
{
return [
'index' => Pages\ListCmsPages::route('/'),
'create' => Pages\CreateCmsPage::route('/create'),
'edit' => Pages\EditCmsPage::route('/{record}/edit'),
];
}
public static function getTranslatableLocales(): array
{
return config('filament-spatie-laravel-translatable-plugin.default_locales') ?? config('filament-cms.locales');
}
}
-
Finally, you need to add the necessary trait to your Filament resource pages:
use App\Filament\Resources\CmsPageResource;
use Filament\Resources\Pages\ListRecords;
class ListCmsPages extends \SolutionForest\FilamentCms\Filament\Resources\CmsPageResource\Pages\ListCmsPages
{
use ListRecords\Concerns\Translatable;
protected static string $resource = CmsPageResource::class;
protected function getActions(): array
{
return array_merge([
$this->getActiveLocaleSelectAction(),
], parent::getActions());
}
}
namespace App\Filament\Resources\CmsPageResource\Pages;
use App\Filament\Resources\CmsPageResource;
use Filament\Resources\Pages\EditRecord;
class EditCmsPage extends \SolutionForest\FilamentCms\Filament\Resources\CmsPageResource\Pages\EditCmsPage
{
use EditRecord\Concerns\Translatable;
protected static string $resource = CmsPageResource::class;
protected function getActions(): array
{
return array_merge([
$this->getActiveFormLocaleSelectAction(),
], parent::getActions());
}
}
namespace App\Filament\Resources\CmsPageResource\Pages;
use App\Filament\Resources\CmsPageResource;
use Filament\Pages\Actions;
use Filament\Resources\Pages\CreateRecord;
class CreateCmsPage extends \SolutionForest\FilamentCms\Filament\Resources\CmsPageResource\Pages\CreateCmsPage
{
use CreateRecord\Concerns\Translatable;
protected static string $resource = CmsPageResource::class;
protected function getActions(): array
{
return array_merge([
$this->getActiveFormLocaleSelectAction(),
], parent::getActions());
}
}
#Recommended Plugins
In addition to the core functionality of this project, we recommend the following plugins to extend its capabilities:
-
Media Library Manager - A media manager that is compatible with Spatie MediaLibrary.
-
Curator - A free media manager designed for use with Filament Admin.
#Roadmap
Here are some of the features and improvements we plan to implement in future releases of this project:
- [OK] Scheduled Publish Page
- [ ] Asset Manager
- [ ] Tag Manager
Please note that this roadmap is subject to change and may be updated as we receive feedback and new feature requests from our users. We appreciate any suggestions or ideas you may have for improving this project!
#License
Please see License File for more information.
